Cloud Dashboard
Settings
My profile
My details
You can edit your personal data under my details.
Authentication
Under Authentication, you can edit the connected accounts you use or cancel the connection (e.g. your connected Google account).
Here you can change the login e-mail address.
Password
You can change your password here.
Organization
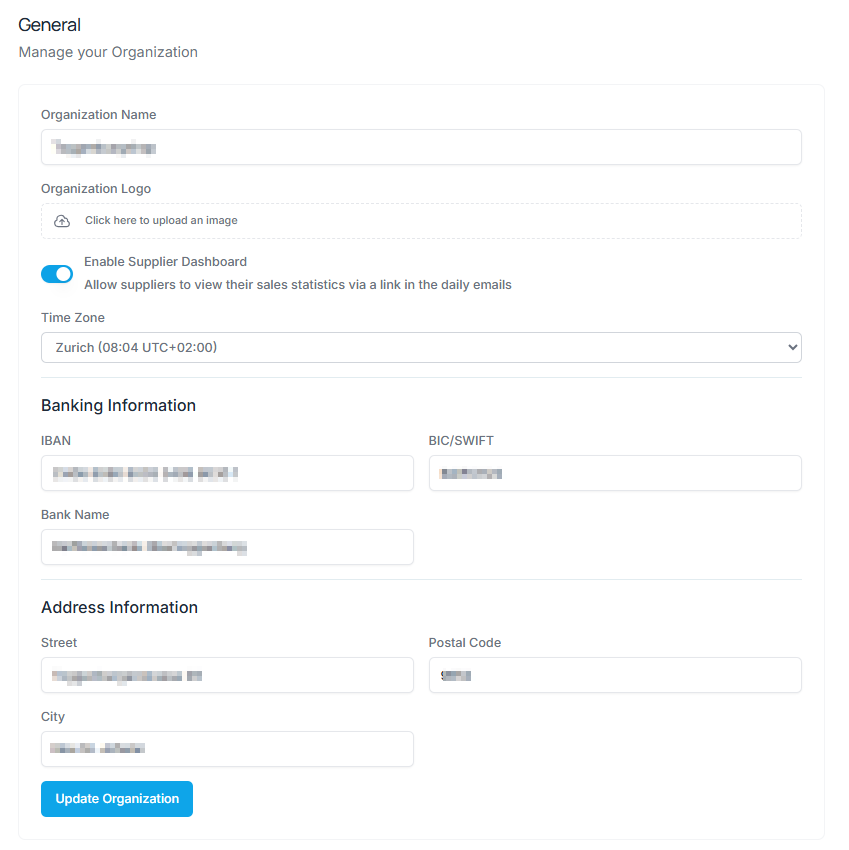
General
Here you can enter or change the displayed name and logo of your organization. This information has no influence on the data that the customer sees on the checkout screen or the receipt.
You can also define your time zone here. If you work with supplier notifications, you can also activate the supplier dashboard for your suppliers here. In the settings of each individual supplier, you can generate links for the supplier dashboard.
Add and edit members
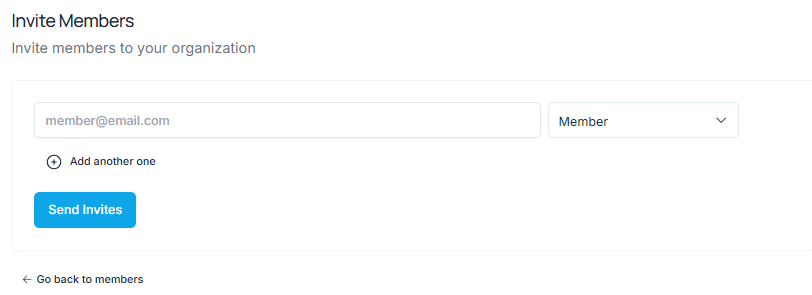
As an administrator, you can invite new members to your organization or edit existing members here. Please note that the options and explicitly the number of possible members depend on the selected subscription.
You can also see here if an invited member has not yet accepted the invitation and therefore does not yet have access to your organization.
To invite a new member, click on the empty space, enter their e-mail address and desired rights (member, admin, ...) in the mask that opens. By clicking on "Send invites", the new members will receive an invitation email with a link to your organization.
API Keys
Create and manage API keys here. You can find more information about our API interface here.
Stores
Create and edit initial data
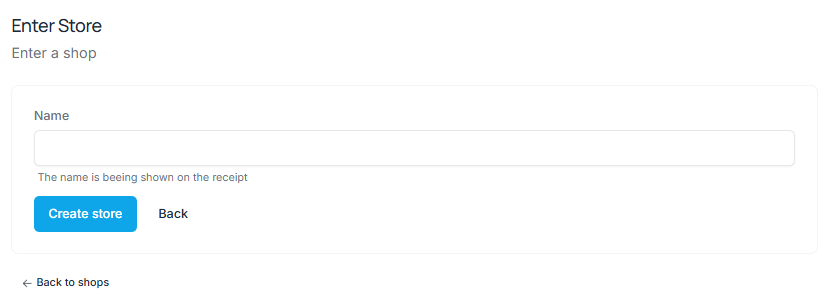
You can create a new store here. To do this, click on the "Enter shop" button. Please note that the possible number of stores depends on the subscription you have selected:
- First enter the name of the store in the corresponding field. This name will be displayed on the customer's receipt.
- Then click on "Create store".
Note: All fields described under Stores can be edited for existing stores by clicking on the store name. This will open the store details view.
Maintain General Information
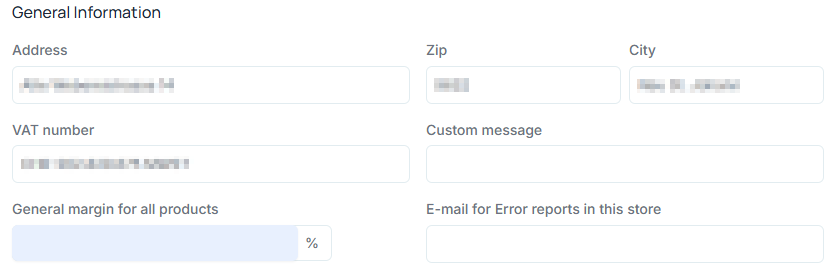
The following information appears on the customer’s digital receipt:
- Address
- Postal Code (ZIP)
- City
- VAT Identification Number
- Custom Message (e.g., Thank you for your purchase)
Additional settings:
- Define a general margin for all products in this branch:
Please contact support@scango.ch if you would like to use this feature.
- Email for checkout error notifications:
You will receive notifications about unsuccessful purchases.
Manage Payment Options
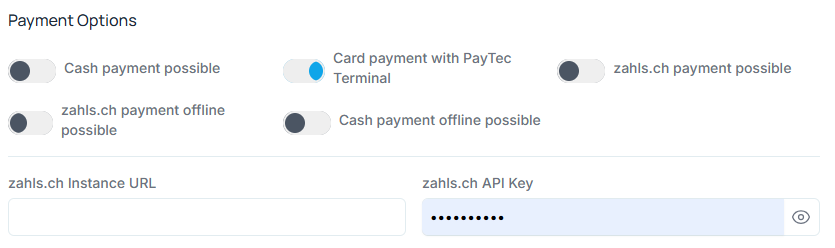
- Cash payment enabled:
If the toggle is activated, the Cash payment button will appear on the checkout.
Only enable this option if you are properly equipped for cash handling and have specified this when ordering our checkout software.
- Card payment enabled:
If the toggle is activated, access to the external payment terminal is enabled.
(This should normally remain activated.)
- zahls.ch payment possible:
Please contact support@scango.ch if you would like to use this feature.
- zahls.ch offline payment possible:
Please contact support@scango.ch if you would like to use this feature.
- Cash payment offline possible:
Please contact support@scango.ch if you would like to use this feature.
Kiosk Settings, Appearance and Sounds
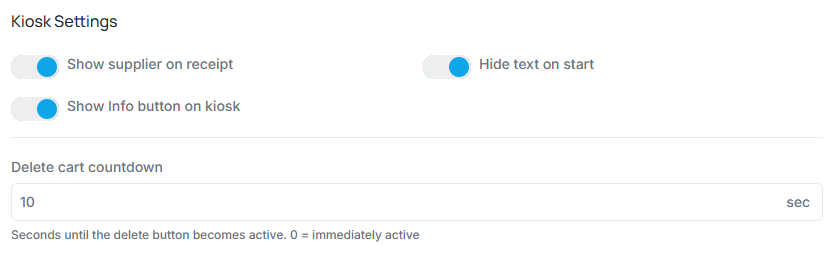
Here you can manage the functions available to your customers when using your checkout device in “Kiosk Mode”:
- Show supplier on receipt: If a supplier is assigned, it will be displayed on the checkout receipt.
- Hide text on start:
If the toggle is activated, the “Start Shopping” button will be hidden on the start screen. (This is often useful if a similar instruction is already displayed on your store’s customized start screen.)
- Show info button on kiosk: Enables or disables the display of information about the checkout provider.
- Clear purchase countdown: Defines the waiting time for the customer when deleting a purchase without completing the payment.
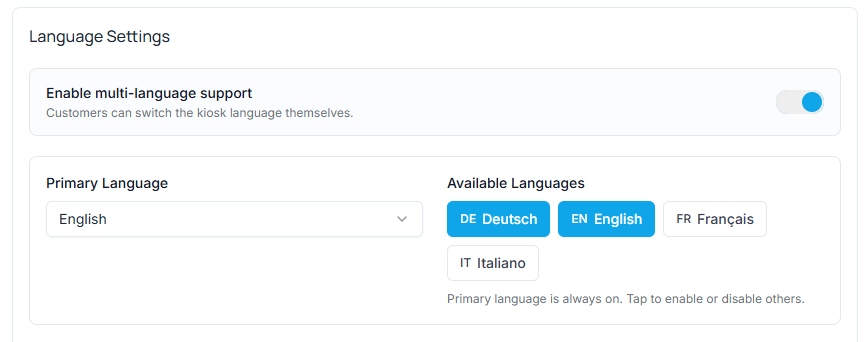
Language Settings
Enable multi-language support to allow customers to switch the kiosk language themselves. You can define the available languages here and select the primary language for the kiosk.
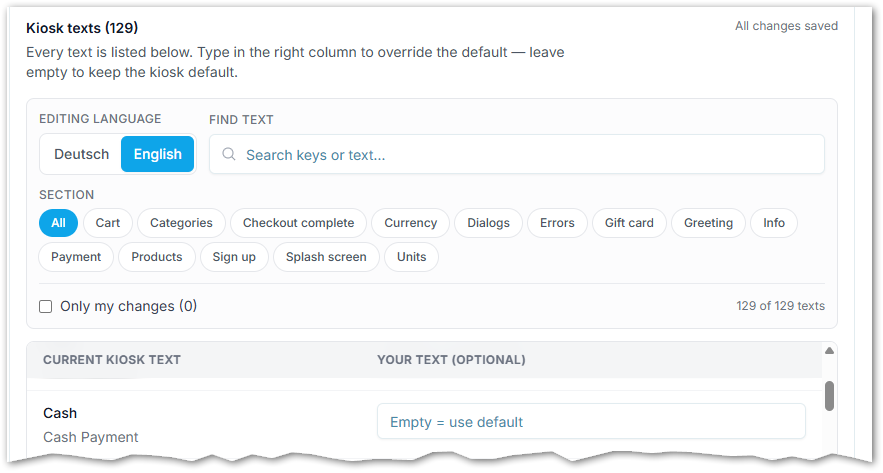
Under Kiosk Texts, you can customise the words and messages displayed to your customers at the kiosk if required.
- The language is based on the primary language you have selected.
- Click on a section, such as Cart, to edit the texts used in that area of the kiosk.
- If no customisations are made, the kiosk will use the default texts. These are displayed in the Current Kiosk Text column.
Appearance
Under Appearance, you define the default color palette and can replace the background images (visible to the customer) if required. Please note: Initially, scango.ch provides you with a customized background image.
If you would like to change this, you can either update it yourself or commission scango.ch to make the change for a fee.
Sounds
Activate the slider if you want to emit store-dependent sounds when shopping or scanning products. You enter the sounds at product level.
Devices
All devices that you use through scango.ch are listed here.
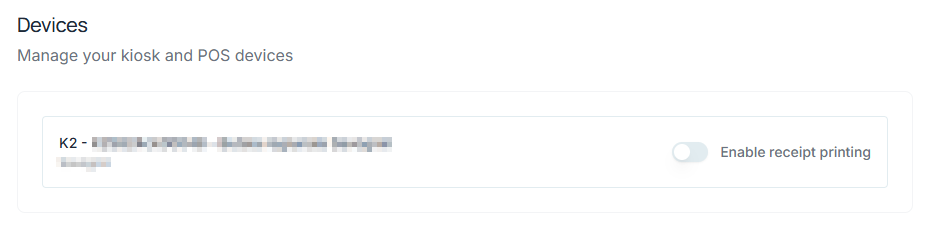
Enable receipt printing
For your kiosk devices, you can enable physical receipt printing using the toggle switch if required.
Make sure that suitable thermal paper is inserted into the designated compartment of the kiosk hardware and restart the kiosk device after enabling the setting.
Suppliers
Enter
You can enter a new supplier here. To do this, click on the "Enter supplier" button.

To create or update multiple suppliers simultaneously, use the import and export functions.
For new suppliers, upload a spreadsheet containing the required supplier information via Import Suppliers. The data can be reviewed and modified before the import is completed.
For existing suppliers, export the current supplier data using Export Suppliers, make the necessary changes in the exported file, and then re-import it to update the supplier records.
Please note that the option to enter suppliers depends on the subscription you have selected:
- First enter the name of the supplier in the corresponding field. This name will be displayed on the customer's receipt if you have selected this in the store settings.
- Then click on "Create supplier".
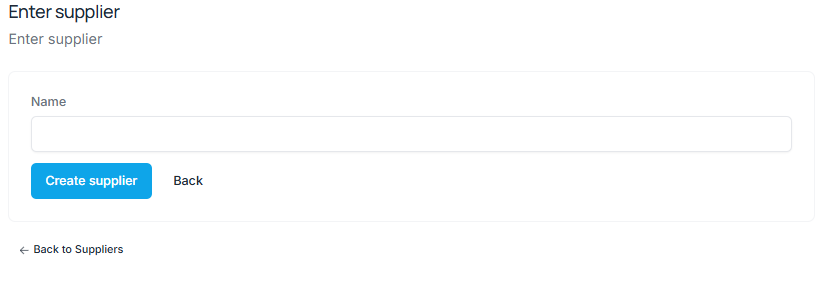
When creating a new supplier, a form will open where you can enter the following information:
- Company
(Relevant for payouts, as this defines the holder of the bank account if you use the payout module.)
- Street
- Postal Code (ZIP)
- City
- Contact Person
- Direct Line (Phone)
- Email: Sales reports will be sent to this address (or addresses).
- Order Email: Orders from the inventory module will be sent to this address (or addresses).
- Payout Email: Payout statements for your suppliers will be sent to this address (or addresses).
- Phone
- Supplier Margin: Applies generally, or alternatively if no margin is defined on individual products.
- Daily Email: Time at which the sales report is sent to the supplier. Note: At the selected time, a notification containing the products sold within the last 24 hours will be sent. The supplier only receives an email if products have been sold within the last 24 hours.
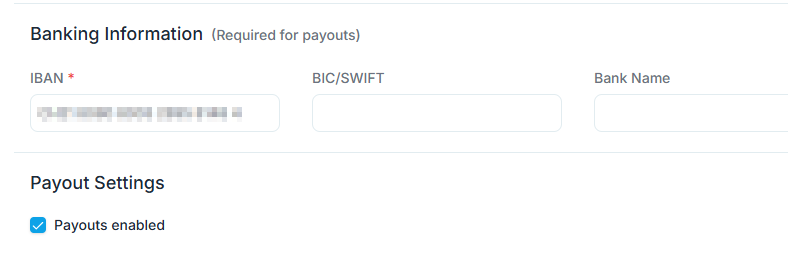
To use the payout module, enter the bank information and set the payout settings to “Payouts enabled.”
Edit
You can change all the fields described under Create suppliers for existing suppliers by clicking on the name of the supplier. The detailed view of the supplier then opens.
Categories
Categories are used to divide your articles into certain similar groups.
You can also use them to manually display individual items or categories to the customer on the checkout screen.
We recommend that you use manually selectable items or categories as little as possible so as not to hinder the flow of purchases at the checkout. However, manual categories do make sense in the case of coffee to go or small baked goods, for example.
Create
You can create a new category here. To do this, click on the "Enter category" button. Please note that the option to create categories depends on the subscription you have selected:
- First enter the name of the new category in the corresponding field.
- Then click on Create category.
The screen for the new category will now open with various details:
- Index: Categories, if they are to be displayed, are displayed in alphabetical order. If you want to change the order, you can do this numerically in ascending order in this index field (e.g. category with 1 is displayed first on the customer screen).
- Display on screen: activate the slider to display the category on the manual selection of the customer screen. Please note that you must also activate the products in this category for manual selection so that they appear on the customer screen.
- Category image: Upload a suitable image for the category here. This will be displayed to the customer during manual selection at category level.
Edit
You can change all the fields described under Create categories for existing categories by clicking on the name of the category. The detailed view then opens.
In the overview of the categories, you are already shown whether the category is displayed in the customer's manual selection or not.
Subscription
Here you can customize your subscription plan and billing settings.